Working with FiberShop separate into 4 main steps:
- Design

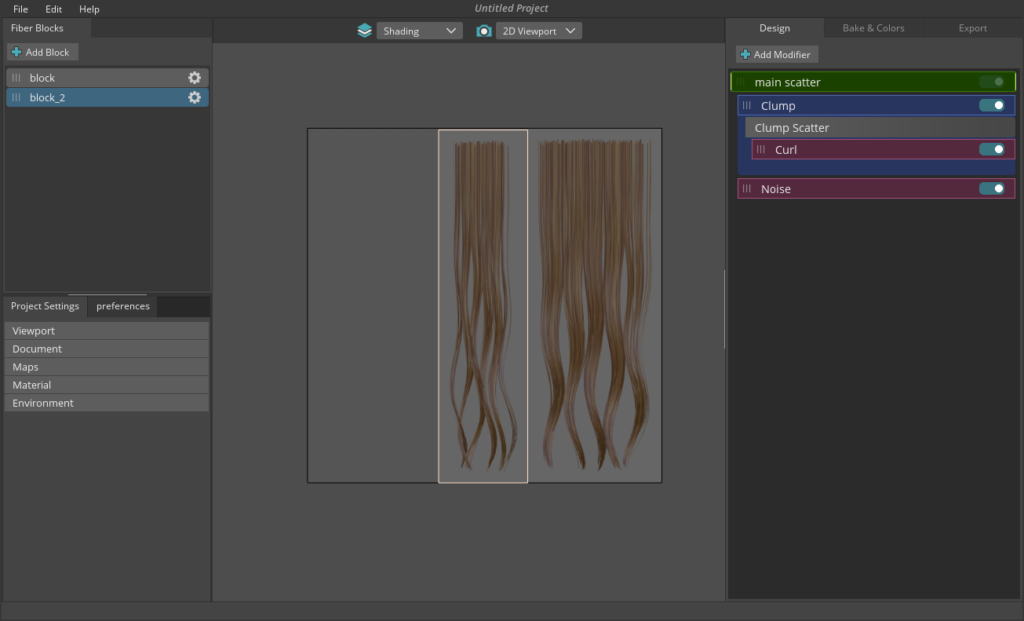
First, you should design the blocks of the hairs as you want. there are multiple design modifiers that you can mix in a layer-based system to achieve the exact result you like.
In this step, you can design the hairs and at the same time see the preview of different passes in real-time on 2D or 3D viewports.
Create any number of blocks, modify them separately by adding new modifiers to each block and simply reposition them by click and drag in 2D space.
Fiber blocks:

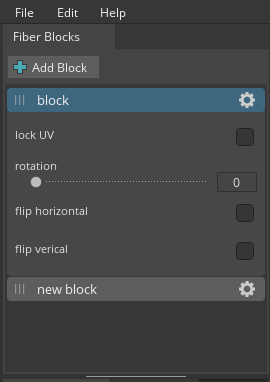
In the fiber blocks panel, you can add multiple blocks using the “Add Block” option.
You can rename the block by double-clicking on it.
You can see the block settings by clicking on the gear icon.
If the “lock UV ” is activated, the block will not be able to move or resize in the 2D viewport. It also gives you rotation, flip horizontal, and flip vertical options. You can also move blocks by drag and drop.
2. Bake

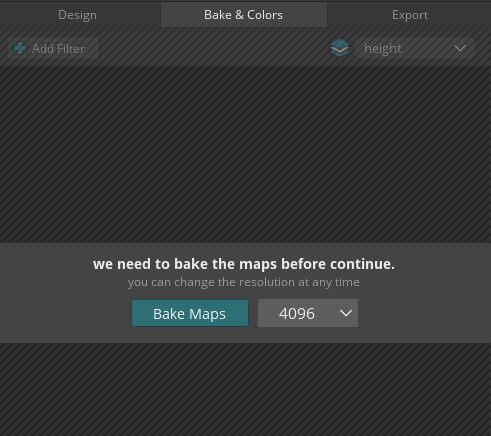
After you finished the design of the hair blocks, you can bake all 10 different maps simply by just clicking on a button and all maps will bake inside the FiberShop in seconds.
Working document (texture) size and aspect ratio can change at any time without losing any data/quality.
3. Color

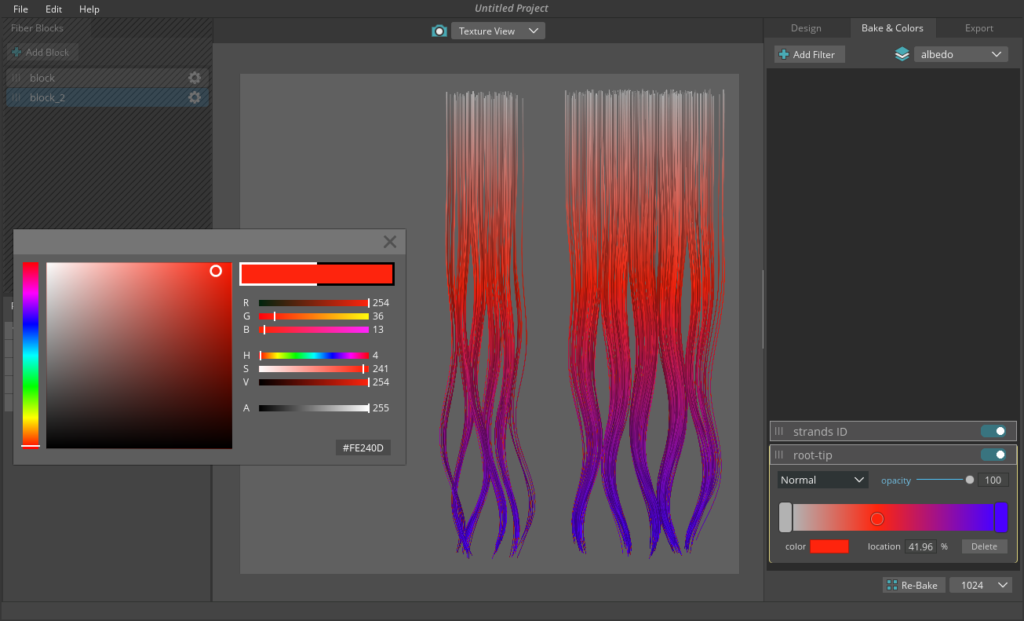
After that, you can see all baked maps separately in 2D or as a PBR material in a 3D viewport. there are multiple color filters that you can add over the baked maps and mix in a layer-based system to achieve the exact result you like or create completely new albedo, specular maps.
Every step in FiberShop is based on non-destructive workflow, so you can return and change your first design even after creating the color filters and masks without losing any data or redoing processes.
4. Export

At the end, you can export all maps, UV-ready hair cards, 3D fiber meshes and even a matched camera.
There are two main option for exporting the maps, export simple for exporting each map as a separate texture file and export advanced for packing map in RGBA channels.