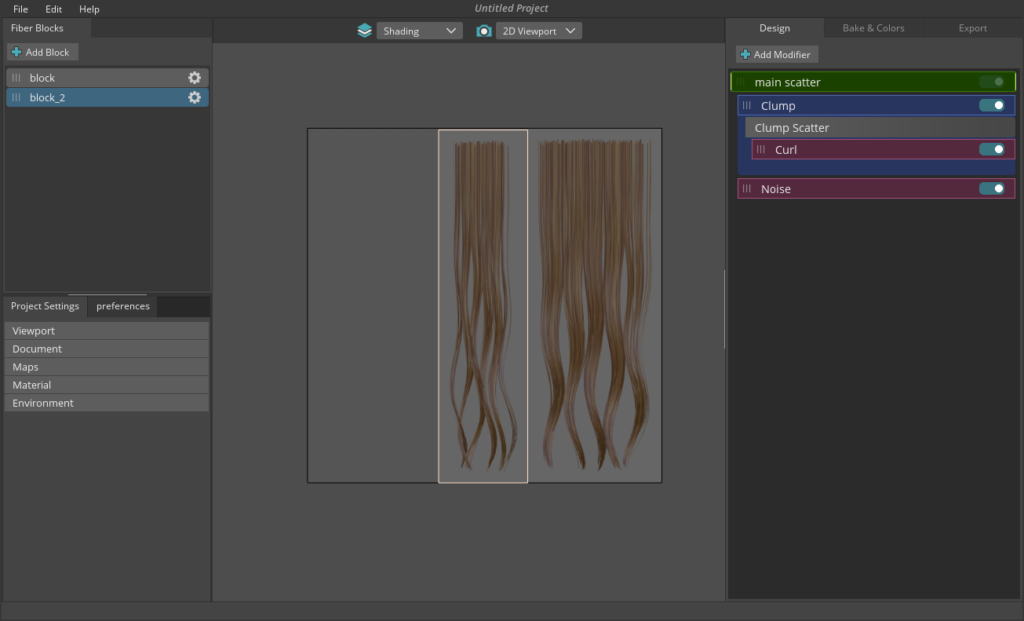
In the Design tab you can create the main structure of the hair.
- Reposition the blocks in the 2D viewport (UV-Space) by click and dragging.
- Snap blocks together by holding the control button while moving the blocks.
- Switch between 2D viewport(UV space) and 3D viewport by pressing the Control+Space or click on the blue camera icon near the viewport name dropdown list.
- Change the preview map mode by clicking on the preview map dropdown list (near the camera name dropdown list) and choose the map you want.
- You can update all block’s preview maps by pressing the Shift+Space buttons.
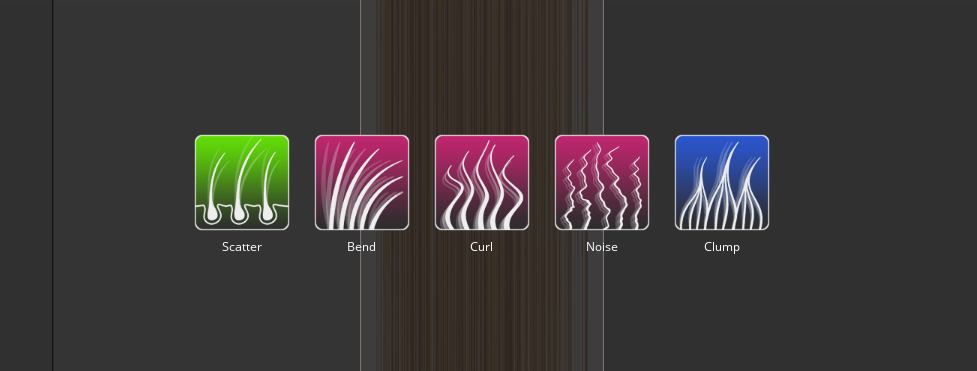
You can also add new modifiers using the “Add Modifier” option.
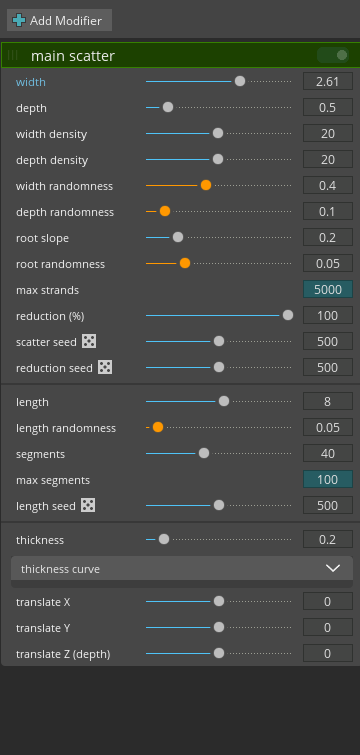
Each modifier contains several variables that add new features to the hair.
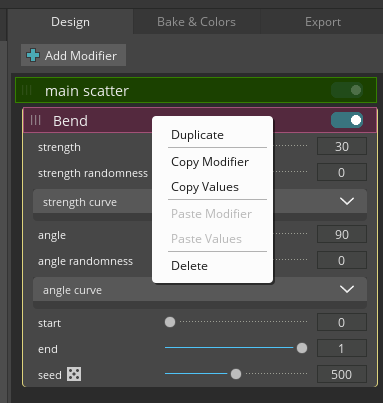
By right clicking on each modifier:
- Duplicate: create a copy of this modifier.
- Copy Modifier: copy this modifier to the clipboard. (then you can paste in any block)
- Copy value: copy the values of this modifier. then you can select another modifier and paste the copied values on it.
- Paste Modifier: paste the copied modifier from the clipboard.
- Paste Values: paste copied modifier values from the clipboard.
- Delete: delete the modifier.
Reposition each modifier by click and dragging the dashed top-left corner of it.
Rename each modifier by double clicking on it’s name.
You can temporary disable each modifier by clicking on the toggle button on the top-right corner of it.
If you disable a “Scatter” modifier then all modifiers after it will be disabled too. because each modifiers are linked to the first “Scatter” modifier before it.